Run! is the second main quest in Kingdom Come: Deliverance. Henry escapes the Cumans attacking Silver Skalitz and races to Talmberg to warn of the attack.
Synopsis[]
My home town was attacked by foreign soldiers and many people slaughtered. I couldn't get inside the castle before they closed the gates, so they sent me to Talmberg to warn the people there in case they faced a similar fate.
Objectives[]
- Help Theresa get away from her attackers.
- Get a horse
- Ride to Talmberg
- Talk to Sir Robard
- Ride to Talmberg
- Go with Sir Robard to the kitchen
- Eat
- Go to the courtyard lodge and sleep there until morning
- Eat
- Optional (take the torch from the table)
- Go to the battlements via the gateway stairs
- Talk to Sir Robard
- Keep watch on the battlements
- Wait until morning
- Keep watch on the battlements
- Talk to Sir Robard
- Go to the battlements via the gateway stairs
- Go the the battlements of the outer bailey
- Talk to Sir Robard
- Get out of the castle
- (Optional) Get a horse
- Flee the castle and get to Skalitz
- Bury your loved ones in Skalitz
- Flee the castle and get to Skalitz
- (Optional) Get a horse
Walkthrough[]
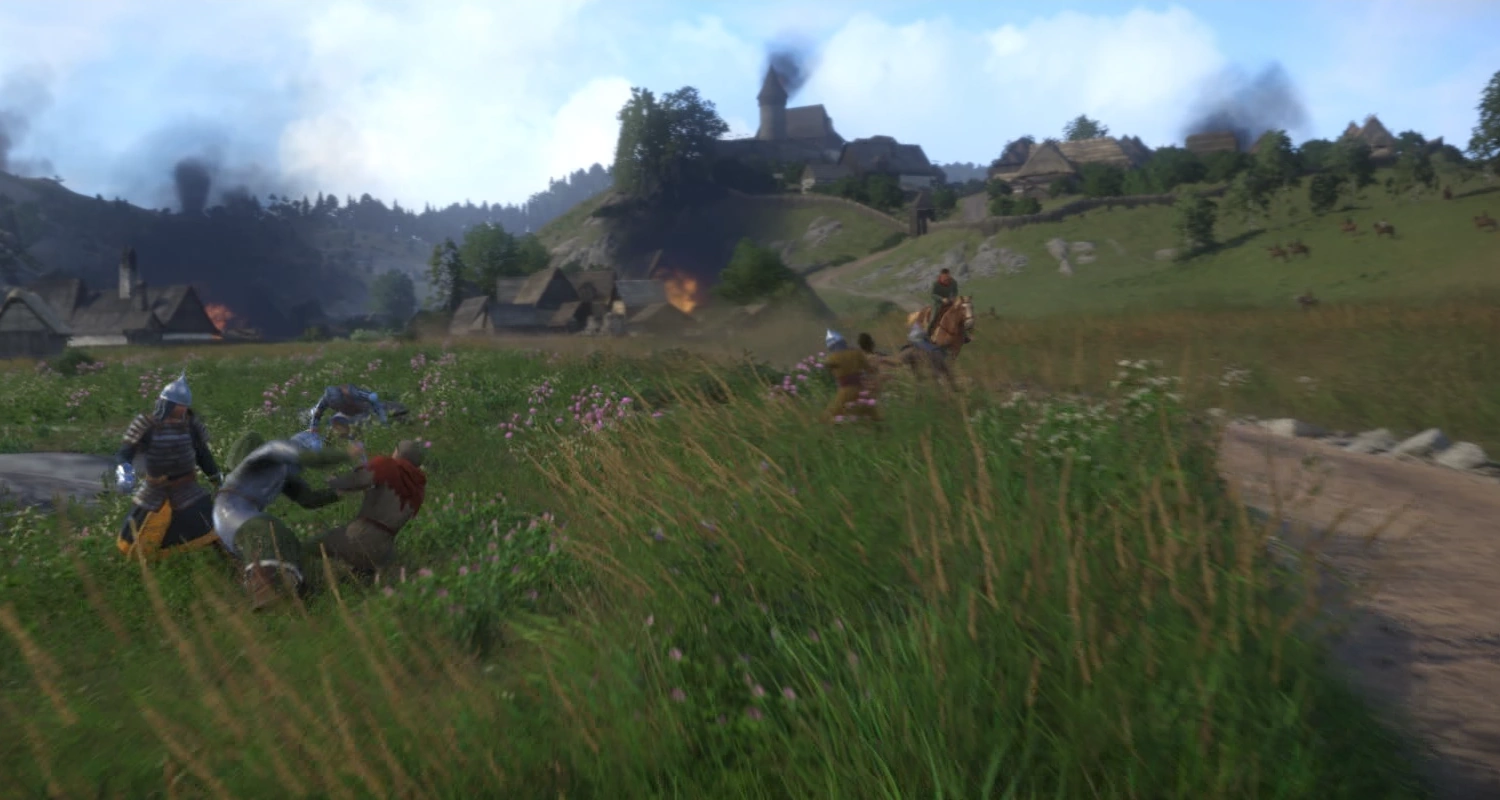
Equipped with what little he could find in home, and armed with Sir Radzig's sword; Henry stood frozen as he witnessed his mother and father being slaughtered by Cuman soldiers. Shaken out of his stupor as Markvart turns his attention towards him, Henry flees towards the closing castle gates only to find himself on the wrong side of the garrison. The soldiers on the battlement yell at Henry to flee Skalitz and to make for the town of Talmberg, to warn them of the oncoming army.
Henry rides for Talmberg as Skalitz burns
Follow the path to the town's stable, on the outskirts of the town's fortifications. Make hast, as one of the Cuman soldiers is after you, and even with Sir Radzig’s sword, you will be out matched if you choose to confront him. In fact, any enemy you see at this point should be avoided at all costs - make sure you sprint when you can to keep them at a distance. If you get drawn in to combat (note the clashing swords icon at the top), keep sprinting to break away before they catch you in an attack.
Once you reach the main road, you will hear Theresa being accosted in front of the house. You might not be ready to be a sword-swinging hero - but you can startle them to buy her time to run away, just make sure you sprint out of there too! Keep in mind that whistling works both as a distraction and to summon a horse. Or you can keep running, and save yourself, if that's the type of man you are.
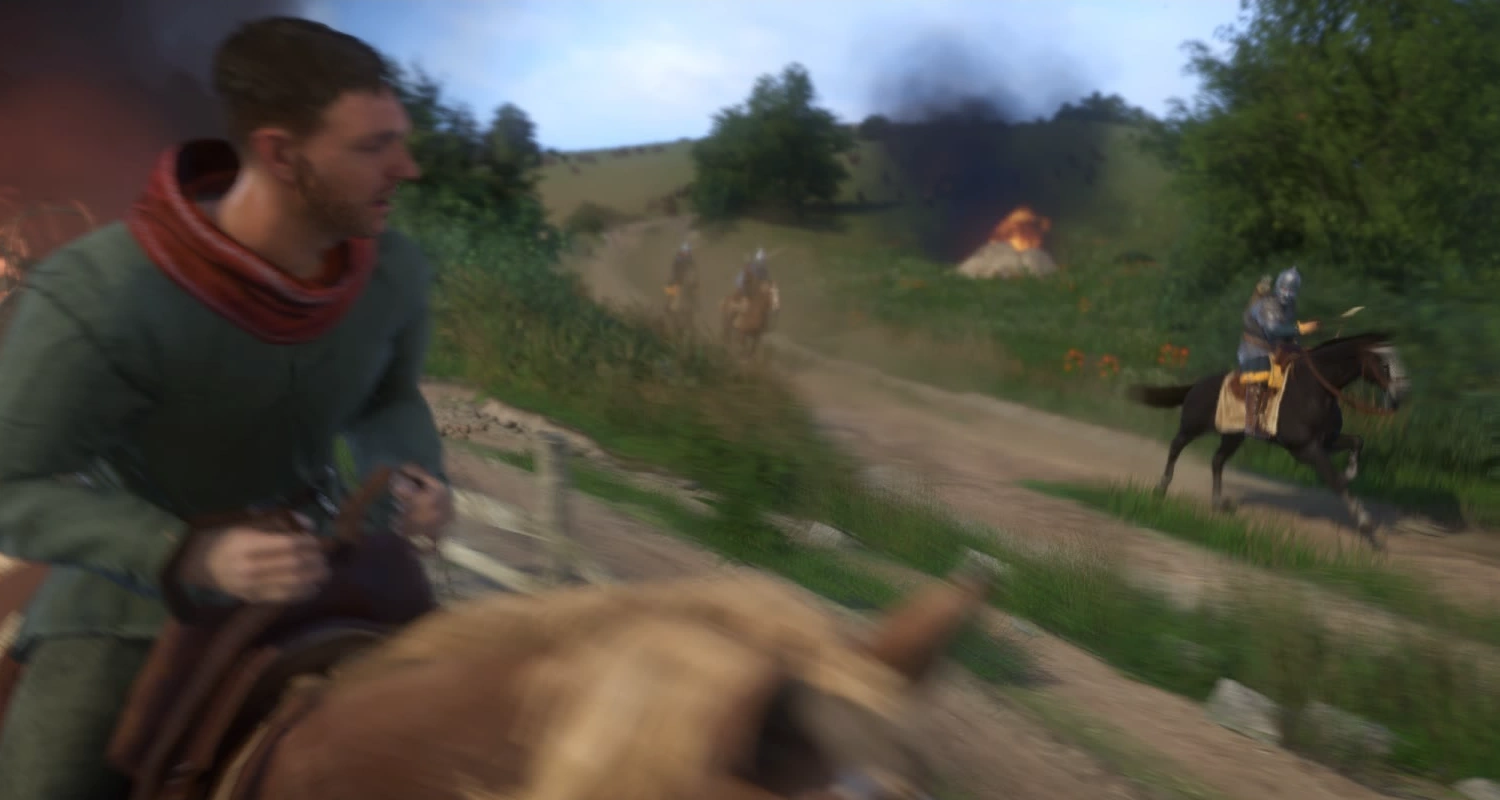
Henry is pursued by Cumans on horseback
Once on horseback, ride to put distance between your pursuers, and follow your compass to Talmberg. Don't try to race in the opposite direction, you'll be hit by a stray Cuman arrow and die. While racing towards Talmberg, you'll meet face to face with soldiers on horse back, who will shoot Henry in the leg. You have neither the skills nor the time to bandage it, so your only choice is to keep riding. If you take too long to reach Talmberg, you will bleed out and die.
Continue to gallop to get a burst of speed and outpace your attackers. If you don’t hustle, they’ll fill you full of arrows before you can get away. As you cross a small stream into the town of Rovna, hang on the left path as it goes out of town and over another stream towards Talmberg. Be sure to keep an eye on your horse’s stamina. You will ride through Rovna, witnessing the villagers being mercilessly slaughtered as they flee for the sanctuary of the church.
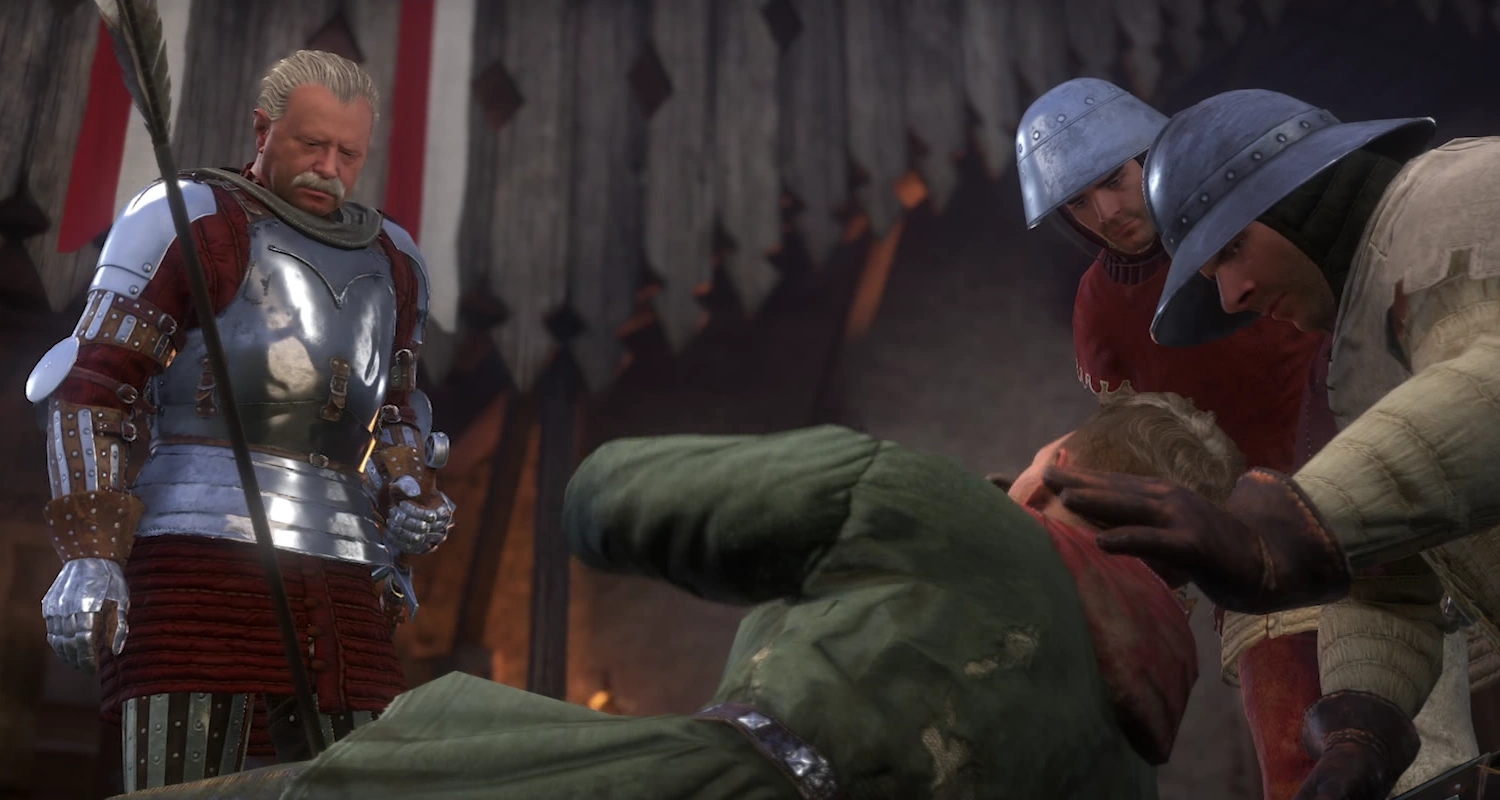
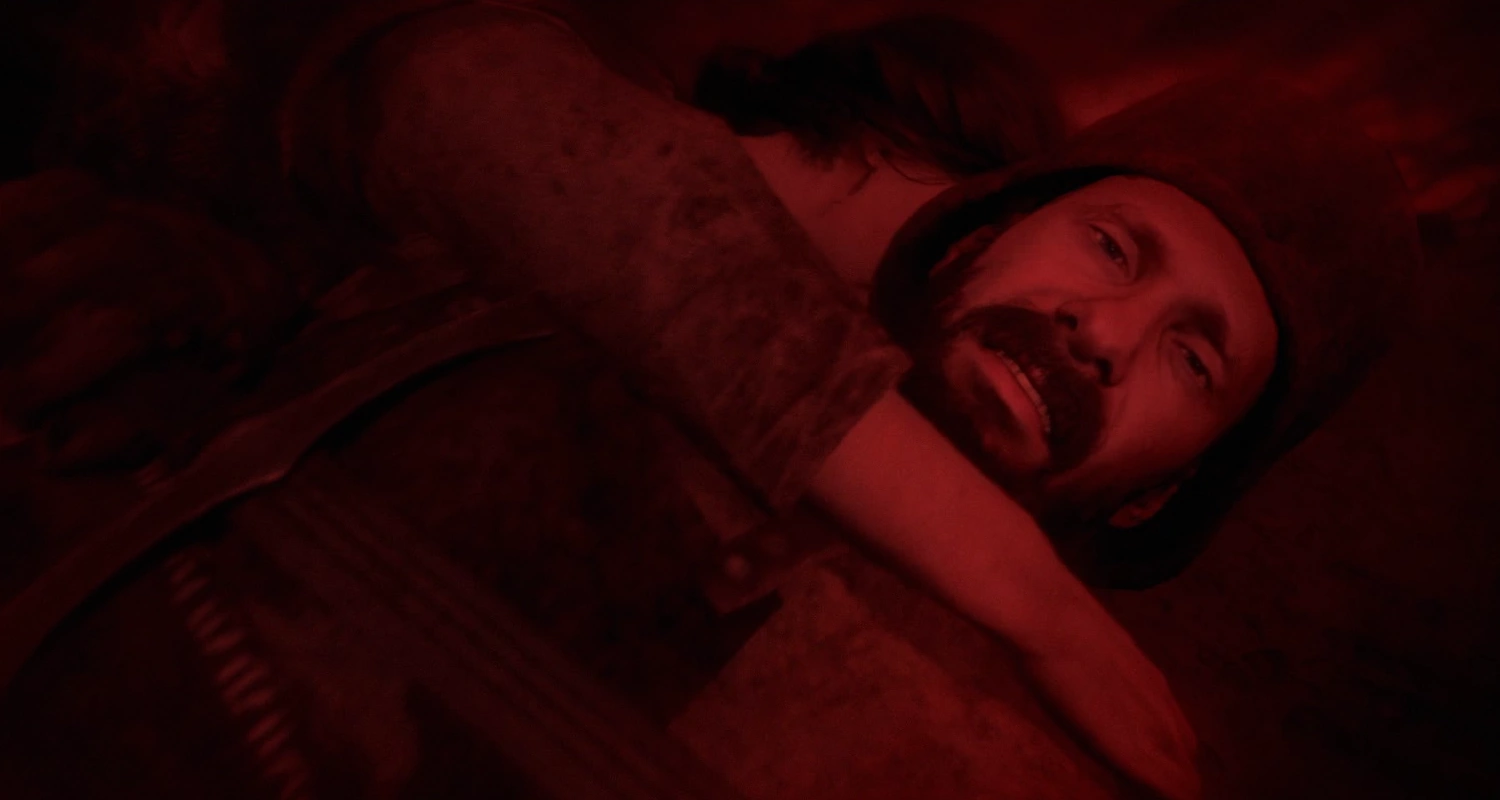
Robard tends to a wounded Henry
When your stamina gets low, switch from galloping to cantering to regenerate some stamina and take off again. Your attackers aren’t the kind to give up, so try zigzagging along the road to evade arrows until you finally reach Talmberg, where the garrison will scare them off.
Once Henry is behind the safety of the walls, his wound is tended to by the Captain, Sir Robard. Henry is then taken immediately to the Lord of Talmberg, Lord Divish, to explain what has happened to Skalitz. Sadly, Lord Divish doesn’t have the means to assist those now barricaded in Castle Skalicky, and has no choice but to bring his own people behind the relative safety of the walls and wait. He notes that they have little chance of defense should Sigismund attack them next. Henry is taken to the kitchen by Sir Robard, where he meet's Divish's young wife, Lady Stephanie. She praises him for his bravery, and instructs Sir Robard to let Henry sleep in a proper bedroom just off the courtyard, rather than the straw cots used by the guards.

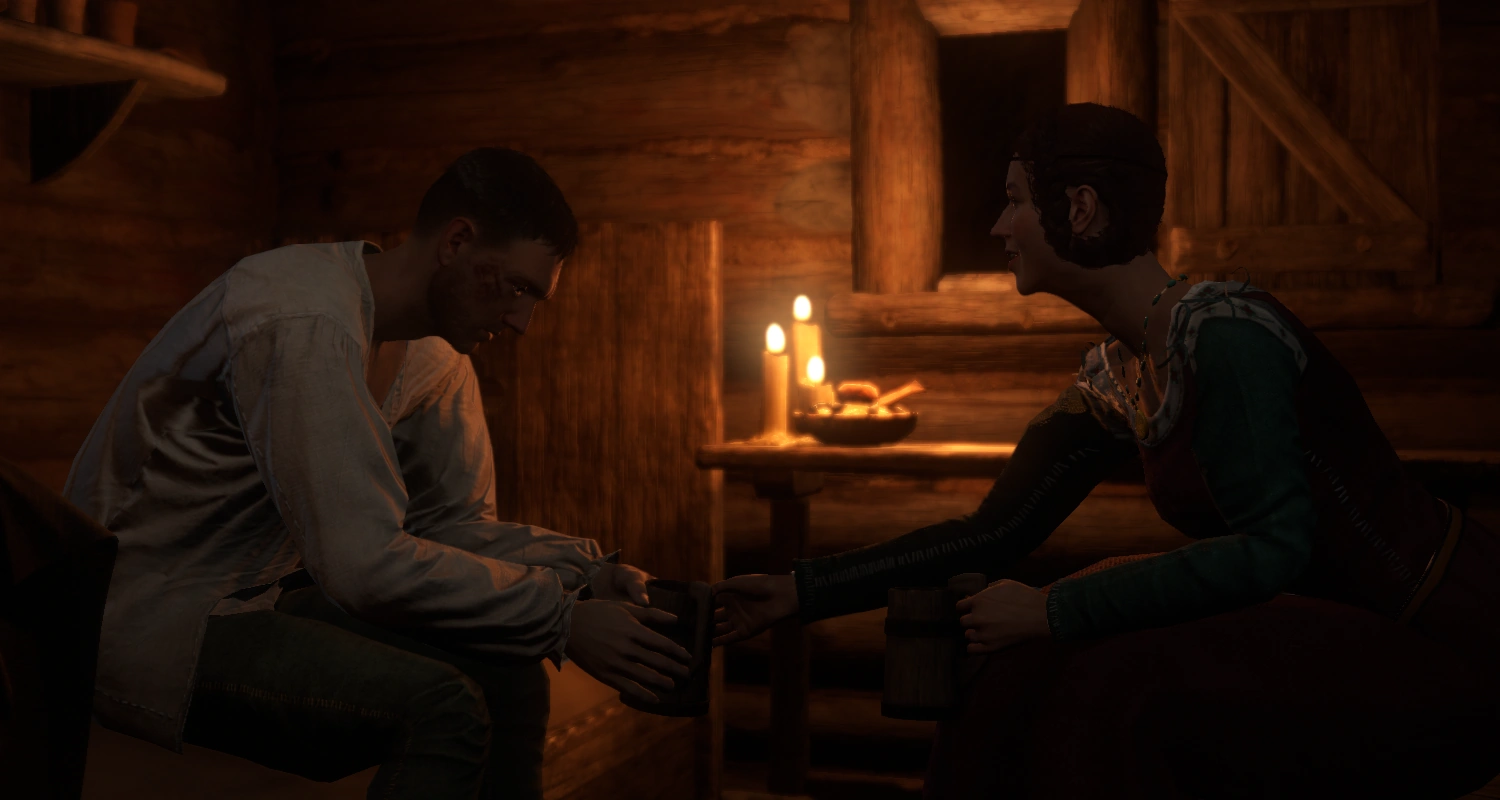
Stephanie comforts Henry
Eat the pottage given to you by the cook, and help yourself to more food from the table until your nourishment is around 100. Remember - don't over or under eat, and try to always carry some dry food with you. Usually you should end up at a perfect 100% nourishment if you eat all the items of roast duck, the plate of soup and the three apples on the table. But don't munch too long as your energy depletes fast and you still have to navigate your way to the courtyard lodge. After you have eaten your fill, it’s time to take care of your energy. Head across the courtyard to find your bed. If you don’t manage your energy level, tiredness will get the better of you, and you’ll find it hard to keep your eyes open. When sleeping, try to give yourself enough rest to put your energy (and possibly heath) to 100. But don't sleep too long, as sleeping lowers your nourishment. It's a good idea to carry a few books with you to read during later hours, unless you'd prefer to stumble around in the dark. Sleeping in a bed you own also saves the game, without having to use saviour schnapps, and you'll be awarded your own rooms for various services as the game progresses. Or you can rent or buy a room at the various inns and taverns.
As he lies awake in bed, silently contemplating the horror of the day, Lady Stephanie knocks on the door, bringing you a cup of wine. She sits with you, and asks if you'd like to talk about what happened. You can tell her that it's too soon, and she'll leave you be, but otherwise, you'll have the opportunity to tell your story and increase your Speech level, which gains XP with every conversation. To beat the skill check, you should aim to have a higher speech, charisma or intimidation than the other person - however, sometimes the stats need to have a dramatic difference, depending on how important the question is. Check the individual's page for information on their stats, as you wont see their stats until you know them, or have the required perk. The charisma choices work as well if you remembered to keep 30 flowers in your pocket before fleeing Skalitz.

Henry is haunted by dreams of his father calling him a coward
Stephanie's Stats[]
| 2 | 5 | 8 |
Stephanie will then tell her own sad tale to Henry, and the two take comfort in knowing they are not alone in their suffering. Then, she leaves you to your rest. Henry is haunted by nightmares, watching his town burn and his parents murdered all over again, even imagining his father accusing him of being a coward. Sir Robard will abruptly wake you to tell you that a large group is approaching the town, and you should join the rest of the garrison on the battlements. Be sure to grab a torch and equip it in your inventory, then head outside and go around the longhouse you were in to find the path to the main gate.
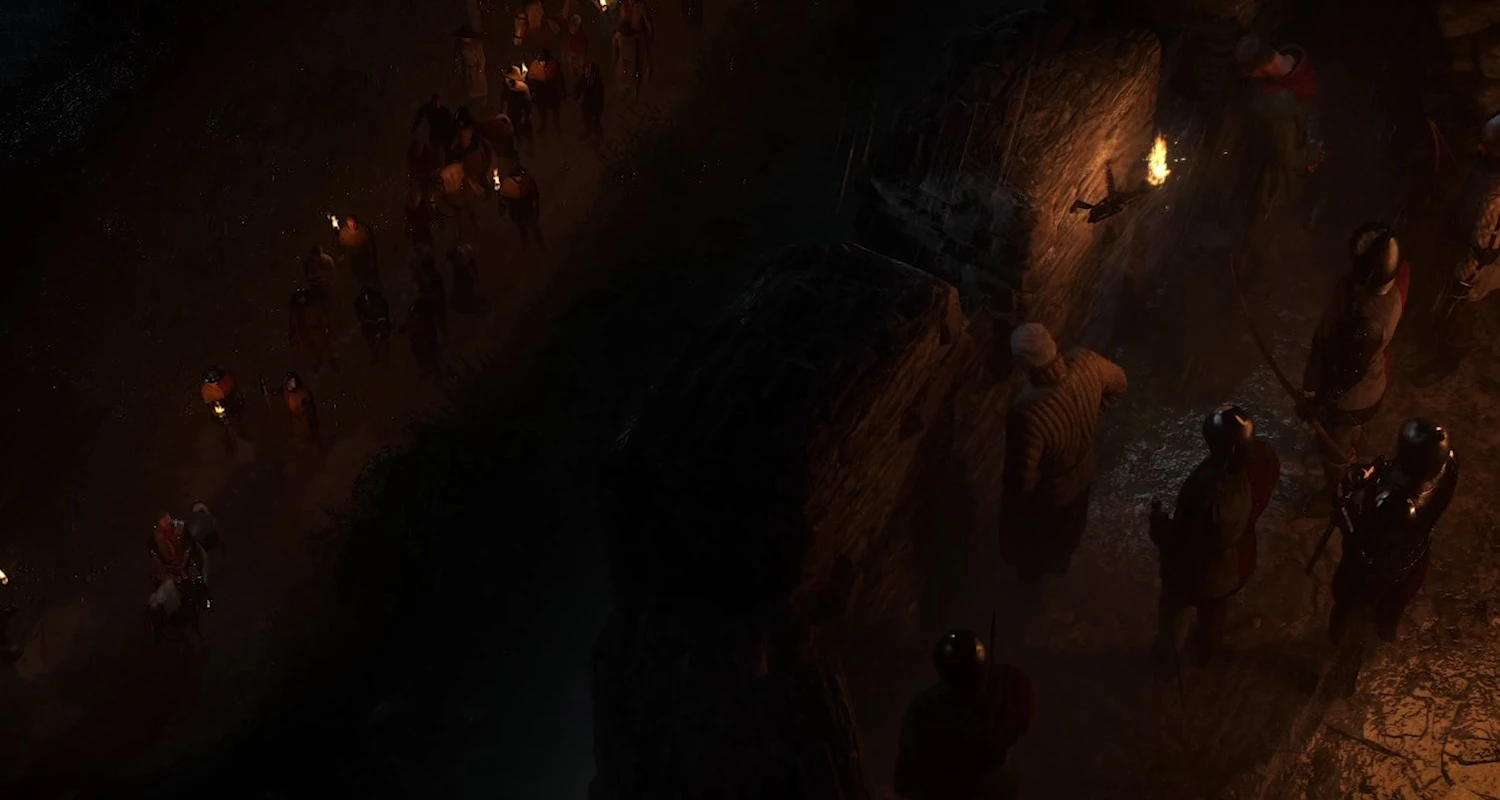

Sir Radzig and the refugees pass by Talmberg
Just to the left of the gate are stairs you can take up to the battlements. But don't rush things just yet. When you climbed the stairs to the battlements, make a right turn and disappear into the weapons storage. It is a bit of a cheat as you're actually not yet supposed to know that you would need Talmberg gear later on, but at this point you can help yourself to whatever you need without the danger of getting caught. There are two solders in direct view of the entrance, but they completely ignore you.
The weapons storage has 3 floors. The one you enter, a basement and an upper floor. Once you're inside you can grab one of two shields and there is a chest with a basic set of Talmberg guard kit and an easily pickable lock. That is, if you got the lockpicks from Fritz in Skalitz. There is a ladder to the basement, which offers three chests with harder locks, which you can only open if you were already a very naughty boy before leaving Skalitz. You'll need a lockpicking level of 6, the Luck of the Drunk perk and some booze. Saviour Schnapps is your friend here. The chests contain mainly bows, arrows, shields and Reliable blade short swords. You won't be able to use those due to their agility requirements, but they sell for a pretty penny once you arrive in Rattay. One of the chests also contains a mace, which makes for a good early weapon once the game starts in earnest.
On the upper floor you can collect a bow and some arrows without having to pick locks. Regardless of what you collected, Don't put anything on you yet, leave it in the inventory and head out to the battlements after finishing your "shopping".
Head around to the South side to find a small group is gathered, and speak to Sir Robard. Luckily, the incoming group are not invaders, but the refugees of Skalitz. When the sudden storm forced the Cumans into their tents, Sir Radzig silently snuck all his people out of the castle. Divish offers them sanctuary, but Radzig points out it would simply guarantee Sigismund will attack and kill them all. Radzig is pleased that Henry has survived, and praises his bravery - but commands him to stay in Talmberg, and not return to Skalitz. He and the refugees will flee to Rattay for sanctuary, and pray that Sigismund passes Talmberg by.
After they leave, Sir Robard will ask you to help keep watch during the downpour, so put your torch to good use and keep an eye out. Of course, there’s not much to do, and a nearby guard will advise you just stay put and wait it out - courtesy of the Wait action. Just after the 5th hour, you’ll hear an alarm sounding - follow the moving guards across from the castle to the adjoining wooden ramparts, where the garrison has gathered, looking over the battlements in fear at Sigismund's massive army, poised to attack. Sir Robard dryly remarks about their new self-appointed king's method to win the love and respect of his people.
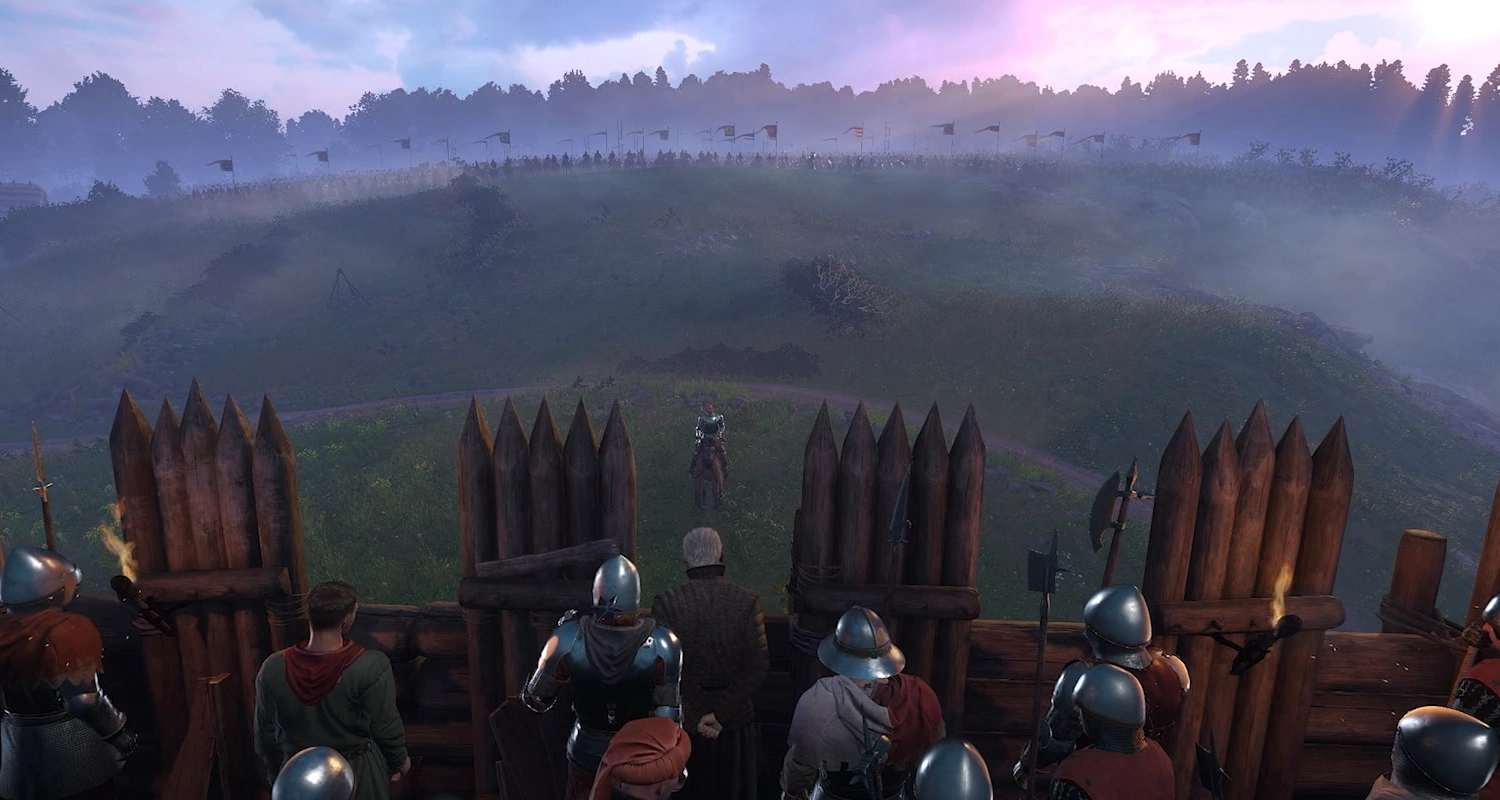

Divish negotiates with Markvart
Markvart von Auliz approaches to parley with Divish, claiming that Sigismund is only punishing those who are causing trouble in the realm, such as Sir Radzig, who he says was using the King's silver to fund an insurrection against the crown. After a tense but polite standoff between Divish and Markvart, the army will depart, which means Skalitz lies abandoned and full of the dead. Before you can return to bury your parents, you’ll need permission to leave the castle. Go find Sir Robard down by the Combat Arena. He doesn’t like the idea of you leaving after you were ordered not to, but you can try and convince him. Unfortunately, he's unwilling to defy his Lord.
Note: if you have posh clothes and Flower Power perk from Herbalism and Loose Tongue perk from Drinking and also use a drink, with Charisma 17 Robard has a different response - he kind of agrees with Henry but urges him to wait a little for things to settle down. He still doesn't give the order to open the gates.
Robard's Stats[]
| 12 | 13 | 13 |
Go seek out Lady Stephanie and ask for help, and she’ll also suggest taking some armor - and give you several places to start looking. Be sure to also tell her you may need bribe money, and she’ll hook you up with some groschen. If you try to leave by the main gate you’ll be stopped by the guard Radim. You’ll have a bit better chance of convincing him - but only to a point. He’d be willing to let you pass if you could ensure he won’t get in trouble for it. If, hypothetically, you were dressed as a guard (hint-hint), he could plausibly say he hadn't noticed you passing through the gates.


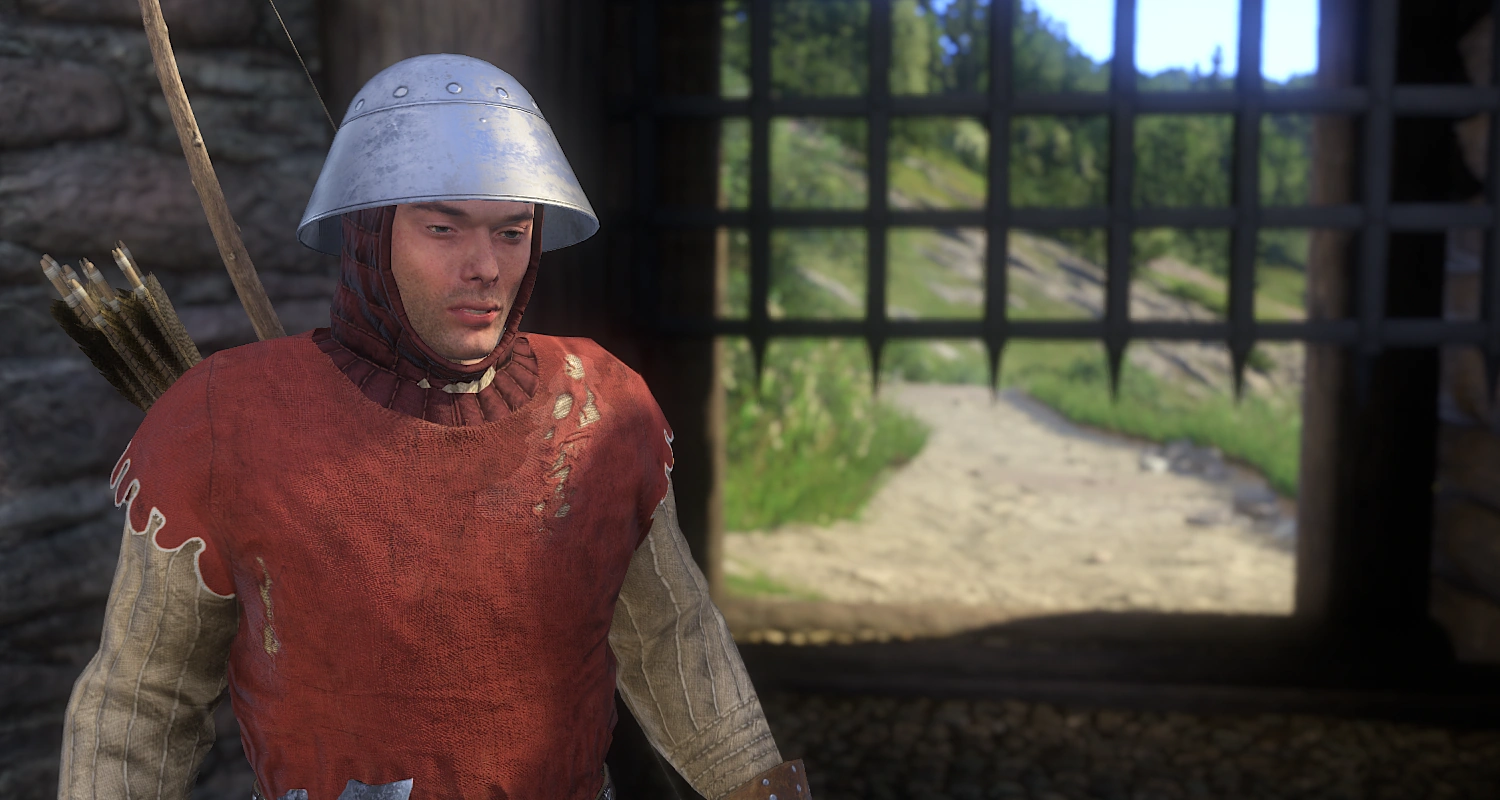
Henry's cunning disguise
Radim's Stats[]
| 3 | 14 | 5 |
Seeing as the armour disguise seems to work the best, and it's free loot anyway, head back inside to the castle. There’s some loot in the gatehouse where the drawbridge is, like a Talmberg Shield - but the chests here require lockpicks. You can buy them from Votava, who sits over near Radim's gate. Barring that, you can at least grab a bow and some arrows, which are on the upper floor. You can also check the towers on both sides of the castle - go up the ladders to where the guards sleep and you should be able to find some more chests with guard armor. You can double check with Stephanie to make sure your disguise is good enough before departing. Be sure you also take the time to sell off whatever you pilfered in the kitchen that wasn’t technically stolen - same goes for the gatehouse.
If you chose to loot the weapons storage early, right after Robard had woken you up, you need to return to the weapons chamber and open/close the already lockpicked, now empty, chest to trigger the completion of the quest item requiring you to get some gear.

Radim opens the gates
Collect your horse, Olena, from the stables, and speak to Radim. Once you've paid your bribe, the gates will open and you can walk out. Alternatively, you can also just skip all the negotiation in favour of making a run for it, and jump off the drawbridge next to the castle. However, they’ll call the guards down below to fetch you - which means you’ll either have to sprint like hell, or bribe/persuade anyone who catches you to let you go. If you are arrested, they will also throw you outside the city gates.
Once you leave, you’ll find yourself in the village below the castle. Here you’ll find a bathhouse - good to get a proper clean, heal your wounds, and having you looking respectable again. They also offer haircuts and ... other services. There’s also an inn to sleep in if you aren’t going back to the castle. Be sure to check your map for a quest giver on the outskirts of town, Tanner Brada would like some getting pelts and could use your help.
After that, start off towards Skalitz in order to bury your parents.
Role Play and Continuity[]
As described in the continuity section of Unexpected Visit , Henry is not supposed to learn how to pick locks until he arrives at Rattay mill, so the disguise option does not apply since all chests are locked, and the only other option of getting gear would be choking a sleeping guard in the tower when Divish and Robard are waiting for you on the castle wall. This is immersion breaking, so if you want to keep the most logical path, the only way for Henry is to jump off the draw-bride and run in the direction away from the village, around behind the castle and then the small path down the hill towards Rovna.
If Henry sold enougth Herbs in Skalitz, he should have enough money to buy the treasure map off Votava. He's naturally curious and knowing that these maps exist and his inability to read them provides the reason for him wanting to learn to read, which in that time would have been highly excentric a wish for a blacksmith apprentice.
Video Tutorial[]


Notes[]
- Time does not advance during the Skalitz portion of this quest and Henry's energy will not tick down, therefore the player has an abundance of time to train some of Henry's skills while still in Skalitz. However Henry's nourishment will still tick down and therefore the player theoretically only has as much time to train as the amount of food available in Skalitz would allow.
- During the Talmberg portion of this quest, time will stop advancing at noon the day after the Skalitz attack.
- Henry is only able to sleep during this quest when first directed to the bed in Talmberg. Afterwards Henry's energy will not tick down, but can be reduced by drinking alcohol. Excessive drinking can quickly leave Henry exhausted and deplete his maximum stamina.
- If Henry is able to sneak out of Talmberg castle undetected, he can rent the room at the tavern down in the village if he was able to acquire money while in Skalitz. This presents the earliest opportunity to access Henry's personal trunk and store any unneeded or stolen items before returning to Skalitz.
- In earlier versions of the game, it was possible to start the favor Skin for the Talmberg tanner immediately after leaving the castle, however in updated versions of the game the trigger conditions for this activity have been postponed to after finishing the prologue.
- You don't need to wear Talmberg gear to fool the guard at the gate. If you pummelled one of the Skalitz guards during Unexpected Visit the Skalitz gear will do the trick too.
- If´you escape through the main gate, which means the guards in the village ignore you, you can collect the nearby treasure from Treasure map XVIII. Unlike later in the game it is at this point in time not guarded by an armed poacher.
- It is possible to acquire armour without picking locks. Before joining Divish and Robard on the battlements at night, Henry can choke a sleeping guard on the upper floor of one of the towers and steal some items from him. However, that guard will then be going about his business with half a uniform for the rest of the game.
- Even if you manage to leave Skalitz and buy a Horse and return to start this quest, you will still end up losing the Horse you had bought.
- If you mount any Horse during this quest your bought horse will no longer be owned, and you will have to obtain another horse.
- If you dont mount any Horse and run into the trigger to start Run! - Chase section, then the game will soft-lock into a infinite loading screen.
Tips[]
- If you run west immediately after leaving Skalitz you can steal a horse thats standing near the road. Then using that horse to cross the bridge and steal the black horse on the other side of the river, you can get a horse with 38 speed, 13 courage and 305 stamina compared to the lesser stats of Olena. This might make the ride to Talmberg easier.
- Alternatively if you buy Travel horseshoes in Skalitz then you can get a horse with total speed of 41 outrunning the pursuing Cumans easily.
- Follow the quest normally until you mount Olena, then turn around and follow the road until you are out of combat, then transfer the horseshoes into the horses inventory from own inventory screen.(You only seem to be able to transfer items to your horse if you are mounted on your horse and are out of combat. And since Olena is your horse during this quest you have to be mounted on Olena to transfer.)
- Then ride to the bridge where the faster horse is, and cross the river and swap to the faster black horse. Then continue the quest normally until the cutscene where you are shot in the leg.
- After the cutscene open your Sidekick tab in inventory and move over to the subtab Tack and equip the horseshoes there, now you have a horse with 41 speed.(Any horse tack in Olena's inventory transfers over to the faster horse after the cutscene)
- Then ride to the bridge where the faster horse is, and cross the river and swap to the faster black horse. Then continue the quest normally until the cutscene where you are shot in the leg.
- Follow the quest normally until you mount Olena, then turn around and follow the road until you are out of combat, then transfer the horseshoes into the horses inventory from own inventory screen.(You only seem to be able to transfer items to your horse if you are mounted on your horse and are out of combat. And since Olena is your horse during this quest you have to be mounted on Olena to transfer.)
- If you kill two of the horses outside the mill you can loot a Cavalry bridle, Hunter saddle (1 saddlebag), and Noble saddle (4 saddlebags). If you also bought/stole the Travel horseshoes, you can have a good set of horse tack before you even arrive at Talmberg.
- If you want to keep any horse tack you have on the horse you must move these into your inventory before you reach Talmberg, as you can not interact with the horses inventory after you arrive at Talmberg.
- If you obtain a Halberd and a Blacksmith's repair kit in Skalitz you can use a glitch to carry a Halberd in your inventory before leaving Skalitz. Once you have the faster horse you can ride to a safe place and then drop the Halberd and equip it. The faster horse combined with the Halberd makes killing all the Cumans really easy if you want to loot the unique sword Rider's Sabre.
- The steps to glitch the Halberd into your inventory are: Step 1 Take the halberd into your hands, Step 2 Attack something with the Halberd so it takes damage, Step 3 Crouch, Step 4 Repair the Halberd while crouched.
- You can also kill a Cuman carrying a Spear on the other side of the bridge, if you looted Captain's mace from the Bailiff its the best one-handed weapon that can be used from horseback to kill the Cumans.
- You can also pick Belladonna near the horse, useful if you want to start brewing Saviour schnapps as soon as possible.
- Alternatively if you buy Travel horseshoes in Skalitz then you can get a horse with total speed of 41 outrunning the pursuing Cumans easily.
- You can go out of bounds if you jump over a low stone wall between two building in the Ore processing yard (The compound next to the Treasure map IX Treasure chest). As long as you dont cross any of the the Game Over triggers around Skalitz, or go to Objective A you should be able to explore the whole map freely.
- The Ore processing yard is populated by bandits.